Showing posts with label craft. Show all posts

Wednesday, 5 November 2014

live | craft | all natural

Inspired by the all-natural stalls at the Om Yoga Show (which you can read about here), we decided to have a go at making our own face masks.

I had visited Lush for the first time (can you believe it!) over the weekend, and really enjoyed discovering the hordes of new products they had in store.  I couldn't believe you could make all of these things naturally (or using the most safe and limited number of chemicals).  I was intrigued... surely, if most of this stuff is natural, I could make these things at home too?

I listened carefully to the lady at Lush telling me about the face mask ingredients, and noted that the one she recommended for me (Brazened Honey) had (obviously) honey, but also lime juice, fennel, ginger and coriander.  It also had an exfoliant, which in this case was ground almond shells.

I thought about how I could make this more easily at home, and came up with a pretty good concoction, I have to admit!

Our face mask is really simple.  So simple, you can make it at home in the time it takes to make your morning porridge.  It also tastes good... don't know if that's a benefit or not!

Here's our 'recipe' for homemade face masks!


Honey Face Mask
- 1/2 cup oatmeal (the exfoliant)
- 2 tbsp honey
- 1 ripe banana, smooshed
- lemon or lime juice, to loosen


  • Mix all the ingredients together to form a paste.  
  • Massage over your face and focus on the areas that need a bit of a scrub.  Leave the mask on for 10 - 15 minutes, and then wash off with a cloth or just under warm water.  
There are so many varieties of ingredients you could use to do this - I think it will be fun to try out different versions of this base recipe.  I know the honey and banana are rich rehydrators which counteract the scrubbing abrasive action.  They also make the face mask smell (and taste, should you happen to get some in your mouth!) good.  

Quite shocked at my oatmeal-face... ;)
No way to make this look attractive... but it works!  It's quite messy to put on your face
so I would recommend doing it in the bathroom.
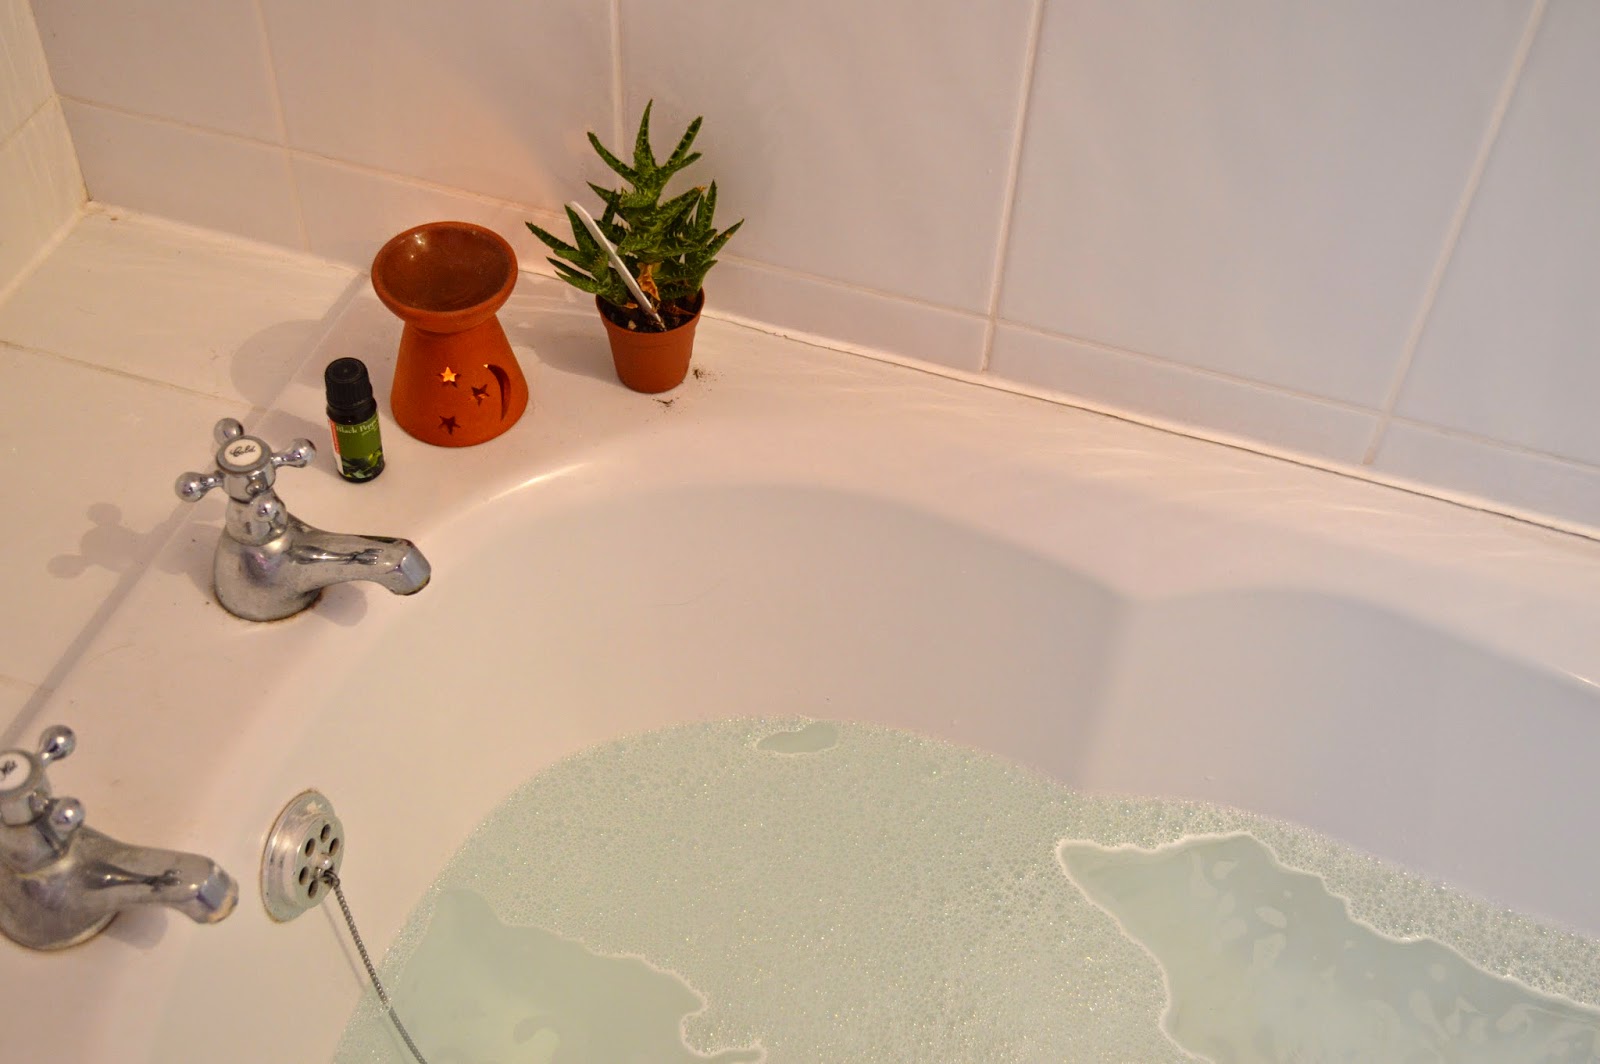
Once you've got the face mask on, you can relax in a nice warm bath, like Sarah did.
Or... you can clean the kitchen floor, like I did. ;)
Afterwards!  It makes your skin feel so soft and clean!

Our make-up free faces!

If you give it a try or vary the recipe, let us know! 

Enjoy today!! 

- rosinaviolets    x 

Saturday, 28 December 2013

craft | christmas gifts!

So for Christmas, we thought it was about time we got crafty again.

Mum has a problem with always losing her keys! So Sarah thought it would be a good idea to try and find some place she can put them or buy some sort of key holder for her Christmas present.  And so started the creative juices flowing! Next thing I knew, my lovely friend at work handed me a magazine that had a brilliant craft section in the back, and there was a great idea for a key holder that can go on the wall!

Off I headed to Amazon to buy the supplies...

Handmade Key Box 

You will need:
1 wine box (we used one that could hold 2 bottles of wine, try eBay or Amazon to buy them online if you haven't got one hanging around)
Paint (we used leftover acrylic paint from our Art GCSE days)
Self adhesive hooks (we used 'Command' self adhesive hooks, which you can get on Amazon)
Picture hanging hooks (so you can fix the whole thing to the wall)

What to do:
1.  Sand the wine box down so it's nice and smooth all over.

2.  Paint the entire box in whatever colour matches your decor.

3.  Give it two coats if you think it needs it, we only used one as we were going for the shabby chic look!

4.  Set aside to dry thoroughly.  We left ours for a day.

5.  Decide how you want to customise your key box.  You can make it totally personalised - and the idea in the magazine was to use a photograph for the front of the box.  You simply print the photo onto A3 paper and then trim it to size so it fits the lid of the box, making sure it's clear of where the lid runs in and out of the box so it doesn't get rucked up.  Glue the photo in place.

6.  We decided against using a photo, so using a different coloured paint, we painted our design onto the front of the box instead.

7.  If you do decide to use a photo, once you've put it on the front of the box, use Mod Podge Gloss to coat the picture so that it looks shiny once it's dry.  You can get this in HobbyCraft or online.

8.  Add your self adhesive hooks to the inside of the box so you can hang your keys.  Screw picture rings into the back of the box so you can hang it on the wall.


I also decided I would make Sarah something for Christmas.  She's looking to update her room and really wants to go down the natural route - everything in white & accessorised with natural plants so in green and brown.   I thought it'd be a nice idea to make some wall art for her new room.  I had a canvas lying around, so I used that to create...

Fairylight Canvas Wall Art 

You will need:
Sharp scissors
1 blank canvas
Acrylic paint in your choice of colours
Battery operated fairylights (I bought mine from Amazon, 30 will be just right)
Selotape

What to do:
1.  Prep your canvas if it needs it, by giving it one or two coats of white acrylic paint.  Leave it until it is dry.

2.  Using a light pencil line, draw your letter onto the front of the canvas.  Using the paint colour of your choice, fill in your pencil drawing.

3.  Leave the whole thing to dry.  I left mine for 1 day.

4.  Pierce as many holes as there are fairy lights in the canvas along the line of  the letter using scissors.  Don't make the holes too big as the lights will just drop out the other side.  You want a tight fit.

5.  Push a fairylight through each hole.  The canvas should hold the bulb in place.  Tape the wires to the back of the canvas so they don't fall out.

6.  Secure the battery pack in the bottom of the frame with tape.  Hang on the wall!


Hope you enjoy making these Christmas crafts as much as we did.
Happy holidays! Enjoy today!!

- rosinaviolets    x

Sunday, 29 September 2013

craft | roman blinds

Making your own curtains may seem like a daunting task, but it's actually not too difficult, and can save you a small fortune.  We had a man come to the house to give us a quote for our two kitchen windows and my bedroom window, and the total came to over £1000! So, I decided I'd have a go at making some blinds instead.

The main difficulty when making Roman blinds is the measuring.  You've got to be spot on, and you've got to get your calculator out.  Once you've done your calculations, making up the blind doesn't need anything other than for you to stitch in a straight line.

The finished Roman blind can be up to 120cm wide, with three cords.  If you want your blind wider, use more cords, and make up the blind in the same way.

Any fabric will do to make your blind, although do think about the thickness to decide on the level of blackout you want.

What you'll need
Blind fabric in the amount needed
Lining fabric in the amount needed
Matching thread
2cm wide Velcro tape, as long as the width of the finished blind
12mm plastic blind-rings, 3 per dowel
Metal cleat, to wrap cords around when the blind is up
2.5cm D-lath, 1cm shorter than the width of the finished blind
9mm wooden dowels, each the same length as the D-lath, and one per dowel channel
2.5cm x 2.5cm support batten, 5mm shorter than the width of the finished blind
Staple gun
Metal screw eyes
3 nylon blind cords, each twice the length of the finished blind, plus the width of the blind
Blind pull

How to do it
The first thing you've got to do gets all the measuring and maths out of the way.

  • Decide how wide you want your finished blind to be 
    • Decide if you want the blind to fit inside the window recess, or not, and measure the width.  
    • Write this down: this is the finished blind width.  
  • Decide how long you want your finished blind to be 
    • Decide where you are going to put the support batten at the top of the window.  Measure from the top of the batten to where the bottom of the blind should reach.  
    • Write this down: this is the finished blind length.  
  • Make a graph paper scale drawing of the finished blind.
    • To work out how many dowel channels you will need, create a to-scale drawing on a piece of graph paper of your blind.  
    • You need one dowel channel approximately every 30cm, starting from the top of the blind.  Below the last dowel channel, you need to leave 15cm to the bottom edge of the blind.  The distance between the channels can be a bit more or less, but they have to be equal, and the distance below the last channel and the bottom of the blind should be half the distance between the dowels.  Got that?
  • Cut out your fabric 
    • From the blind fabric 
      • Cut a panel of fabric that is as wide as the finished blind width plus 8cm extra, and as long as the desired finished blind length plus 13cm extra.  
    • From the lining fabric 
      • Cut a panel of fabric that is 1cm narrower than the blind fabric panel.  
      • The length of the lining panel is the finished blind length plus 4cm extra for each horizontal dowel channel.  (Once the channels are folded and stitched, the lining will be the exact length of the finished blind.)
  • To make your lining 
    • Press 4cm to the wrong side along each side edge of the lining panel and tack in place.  
    • Mark the dowel positions across the right side of the lining.  This is where accuracy is key - take your time!  Follow the scale drawing, and use a mechanical pencil and metre-ruler.  Draw the first line the distance from the top of the fabric as the first marked dowel position.  Then, draw another line 4cm below this - this is the first channel.  
    • From the second line, measure the distance between the dowel channels, and then draw your next line.  Draw another line 4cm below this - this is the second channel.  
    • Draw the other channels in the same way, with two lines 4cm apart.  
  • To make the dowel channels 
    • With the wrong sides together, fold the lining along the centre of the first dowel channel, so the two marked lines line up.  
    • Press along this, and then pin in place.  Stitch along the marked line.  
    • Stitch the remaining channels in the same way.  
  • To prepare your blind fabric 
    • Press 4cm to the wrong side along each side edge of the blind fabric.  Pin in place.  
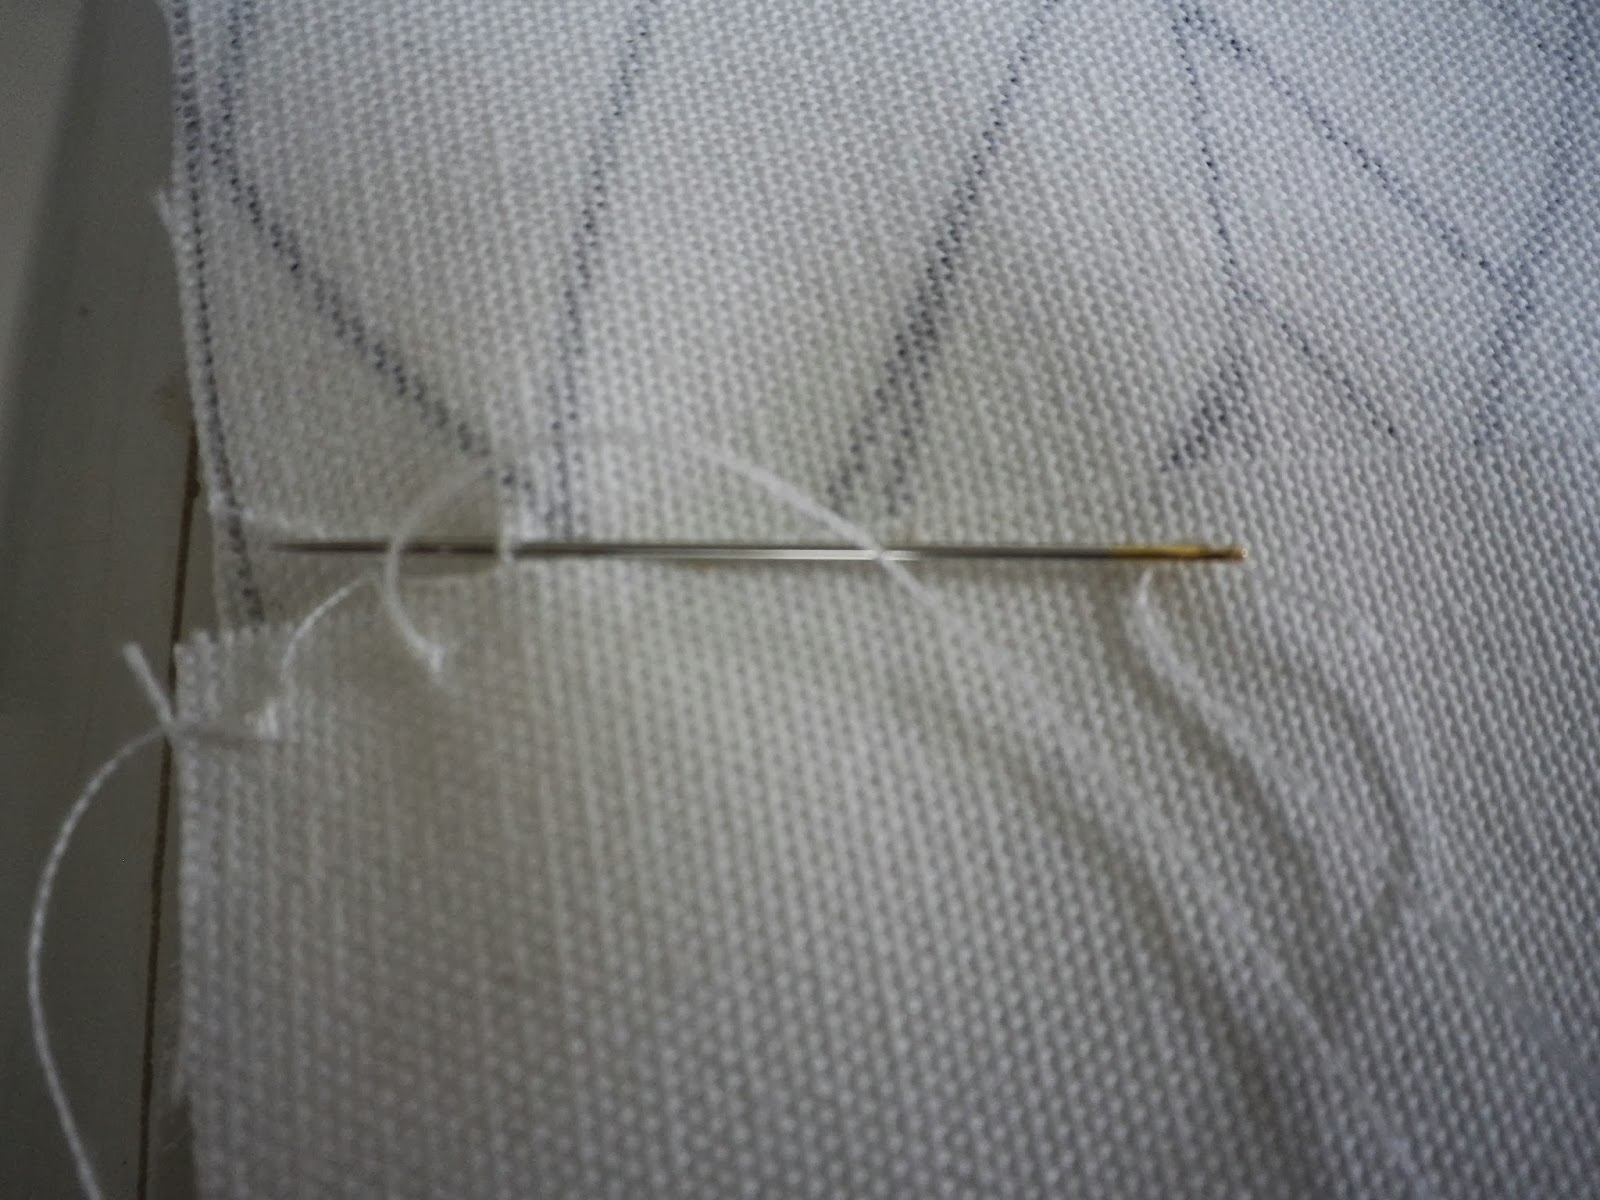
    • Sew these hems in place along the raw edge, using a catch stitch that will be almost invisible on the right side of the blind.  This is what'll take some time, because you've got to do it by hand.  
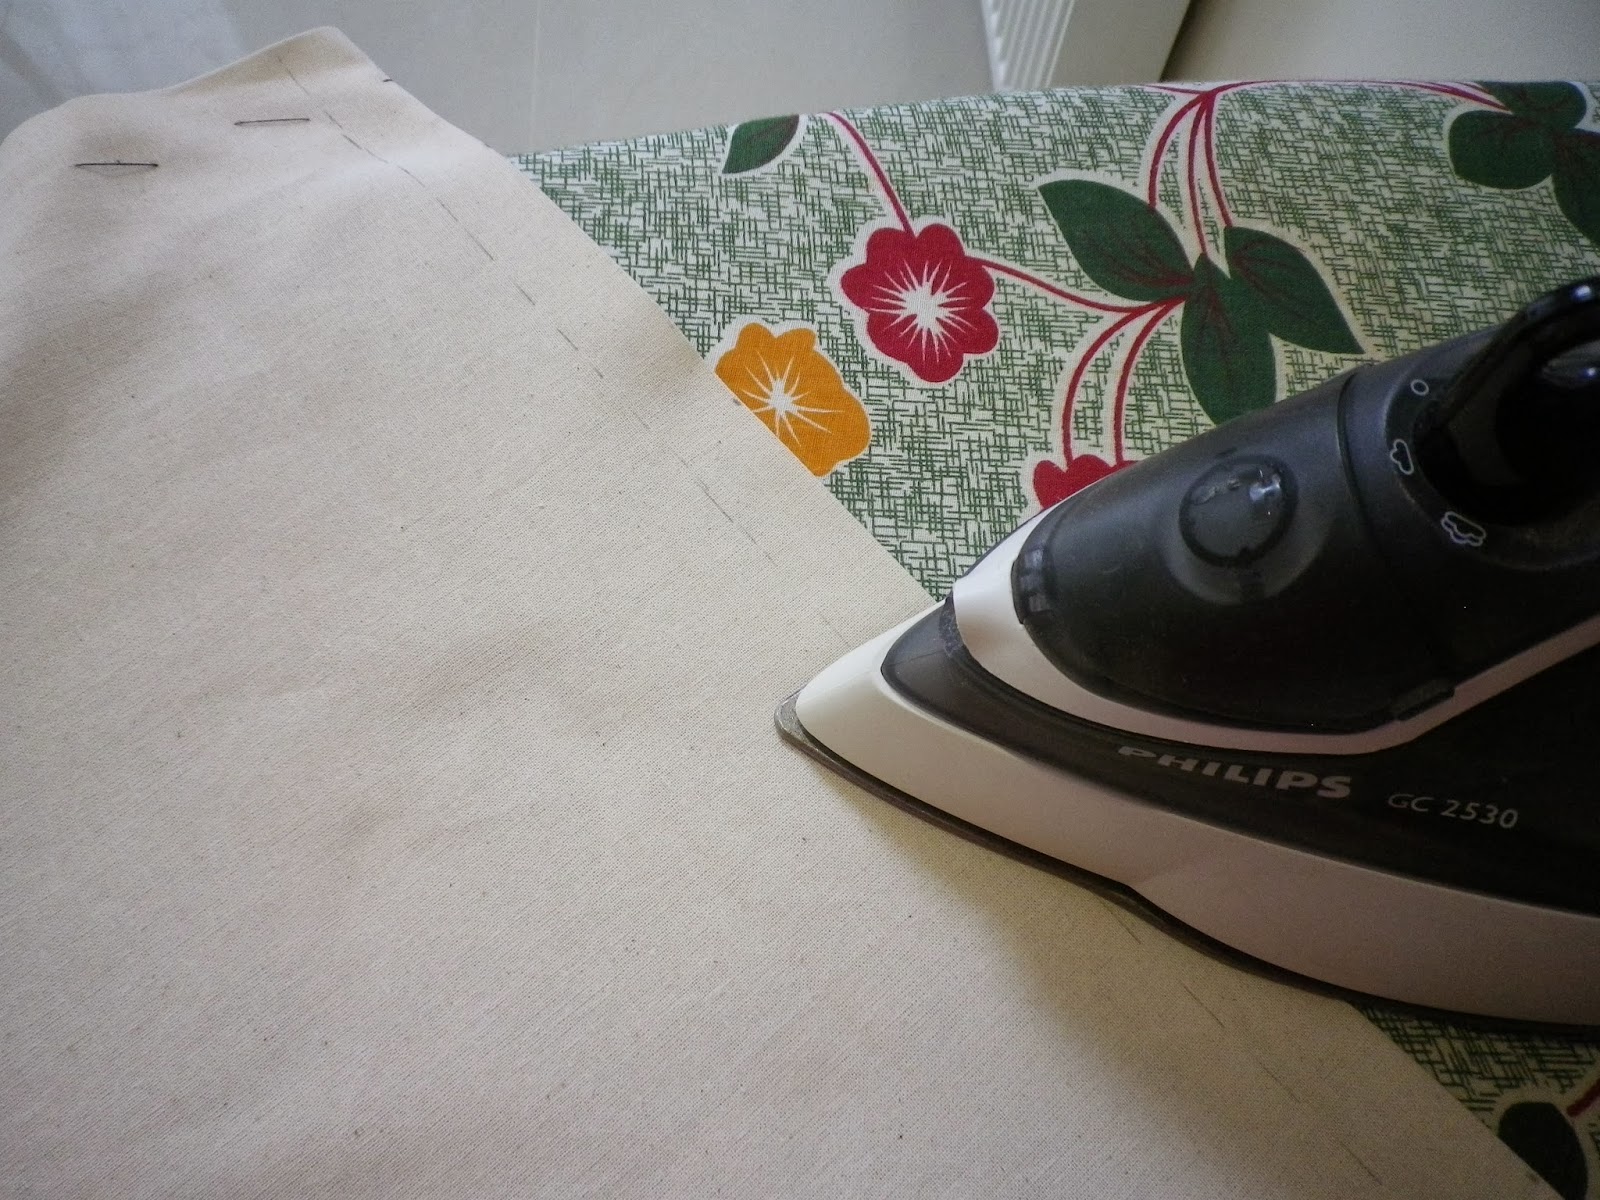
    • At the bottom of the blind fabric, press 1cm, then 4cm to the wrong side.  
    • At the top of the blind fabric, press 4cm to the wrong side, twice.  
    • The pressed folds show the positions for the top and bottom hems, but don't pin or tack them yet.  Unfold the second fold of the double hem at the top of the blind, so only 4cm is folded to the wrong side.  
    • Pin the soft side of the velcro to the right side of the blind fabric, just above the second pressed foldline so it's sitting on the double layer of fabric.  Stitch it in place all around the edges.  
  • To attach the lining and blind panel 
    • With the top and bottom blind hems unfolded, and with the wrong sides together, lay the lining on top of the blind fabric.  Position the lining so that it is aligned with the hemline fold at the top and the hemline fold at the bottom, then centre it widthways.  Pin and slipstitch the sides of the lining to the blind fabric.  
    • Fold the pressed hems at the top and bottom of the blind over the lining and pin in place.  Slipstitch them in place.  At the top of the blind, slipstitch the sides of the hem together, but at the bottom, leave the sides open so you can put in the D-lath.  
  • To sew on the rings 
    • Refer to your scale drawing, and use your mechanical pencil to mark the three ring positions per dowel channel.  The cords will thread through here.  Mark one ring position in the exact centre of the channel and one 4.5cm from each end.  
    • Hand sew a ring at each of these positions, catching in the pressed channel fold.  
    • Underneath the channels, beneath each position of the ring, do a catch stitch, very tiny, through all the layers of the fabric, so that when you pull up the blind, all the layers come up smoothly together.  
  • To insert the dowels and the D-lath 
    • Slip one dowel into each channel.  Slipstitch the ends to close.  
    • Slip the D-lath into the hem channel at the bottom and slipstitch the ends to close.  
  • To prepare the batten support 
    • Staple the hook section of the velcro to the front of the batten.  Screw three hook eyes to the bottom of the batten, one 5cm from each end and one in the centre.  Add an extra one 2.5cm from the pull-cord end.  
    • Fix a cleat to the architrave on the same side.  
    • Fix the batten to the window.  
  • To thread on the blind cords 
    • Knot one end of each cord onto one of the three rings at the bottom of the blind, then thread the cord up through the other rings to the top.  
    • Stick the blind to the batten, and then thread them through the hook eyes and out at the side you're going to pull the blind up from.  
    • With the blind down, align the cords and attach the blind pull to the ends, trimming the cords to the same length.  
    • Pull up the blind with the joined cord, and secure on the cleat.  
  • Feel amazingly satisfied that you've made your very own Roman blind!  


Sunday, 18 August 2013

craft | jewellery box: easy peasy decopatch!

This craft is so easy, anyone can do it! If you have a birthday coming up and you can't think of what to buy, why not make something beautiful instead?  You don't need much expensive kit either.

Head on down to your local craft shop to buy a paper mache box you like, or use one you already have - you can use this technique to cover pretty much any solid surface.


What you need 
- Tissue paper
- Decopatch paper (you can get this at your local craft shop), or patterned tissue paper
- PVA glue (or, if your covering something like ceramic, stone, wood etc. you can use the specialist Decopatch paper patch glossy glue, which you can get at your local craft shop).
- Short bristle brush
- White acrylic paint

How you do it 

  • Make sure your surface is smooth and clean.  

  • Prepare it with a coat of acrylic white paint.  Let it dry before you start sticking!

  • Tear your paper into small pieces.  Get a good mix of plain tissue paper and patterned tissue paper.  

  • Use your paintbrush to apply the glue to the surface of your object.  Apply the paper and smooth over it with your paintbrush, after you've dipped it into some more glue.  

  • The glue will dry clear, giving a glossy finish.  
Ta dah! A beautiful, personal gift box for your friend.  The technique is so versatile though - you could use it to decorate anything - furniture, jewellery, flower pots and vases or even lamp shades.  The only question is - what will we embellish next?! 

Enjoy today!! 
- emily    x