Sunday, 26 January 2014

make | MOROCCO | mini chicken pastillas

A pastilla is a traditional Moroccan filo pastry pie that combines sweet and savoury flavours.  It's traditionally made with pigeon, but as that's a bit tricky to get at your local Tesco, we've gone for what it's more often made with these days - chicken.  Basically you get the sweet and savoury flavours going by slow cooking the chicken in a spiced marinade, and then you add raisins and crunchy flaked almonds before closing up the pie.
A traditional pastilla will cook the meat a day ahead and then make a custard-like thick sauce from onions and eggs to pour over the chicken.  Rather than do this, we thought we'd lighten the recipe up, and make it a bit more do-able for an everyday meal.  We also couldn't help adding in a few veg!  We think it works really well - and is a different take on our red pepper and cherry tomato filo parcels from August last year.  To finish your pastilla, dust it with a little cinnamon and icing sugar.  We served ours with some green veggies on the side.

You can make individual pastillas, like we did, or you can make one big one, which is a more traditional way of serving it.  If you want to do that, still use the filo pastry, but take a round cake tin and line it with greaseproof paper first.  Then take a kitchen roll dipped in olive oil and lightly grease the paper.  Line the bottom of the tin with the pastry, fill it up and then fold the leaves of pastry over to close the top.  Give it a wash of milk, and then bake it for 20 minutes in the oven at 190C.  If you want, you can then take it out of the oven, and turn it over and bake it for a further 20 minutes.  It'll get crispy all over then!

This week we have also enjoyed some absolutely beautiful Moroccan clementines! We picked them up at a market near home, and they are so pretty and taste delicious too.  We couldn't resist taking a picture to show you.

Enjoy today!!

- rosinaviolets    x

We forgot to take a picture of the ingredients, so
a mid-cooking picture will have to do!


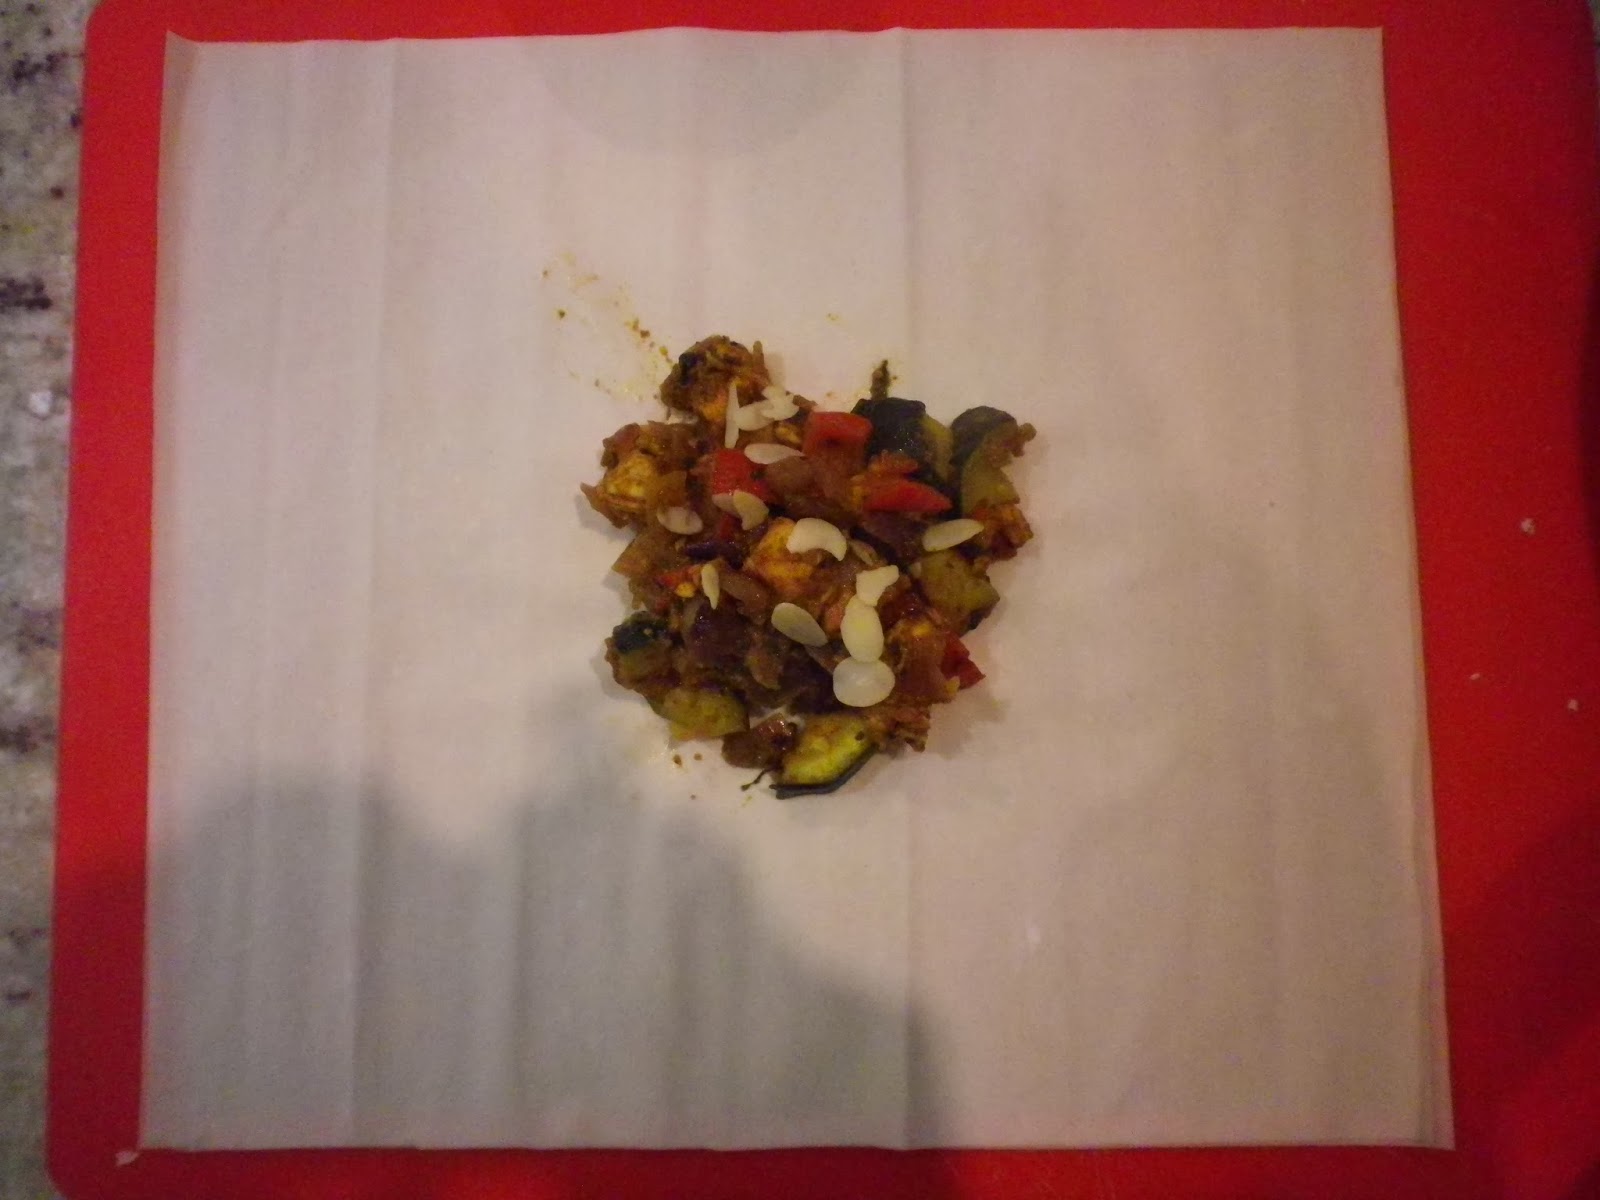
Mid fill - you can add a bit more filling to yours than this


Aren't they gorgeous!
Mini Chicken Pastillas 
To feed 6 (makes 6 mini pastillas) 

For the chicken 
3 chicken breasts, chopped into chunks
2 tablespoons tomato puree 
1 teaspoon ground ginger 
1 teaspoon ground turmeric 
1 teaspoon paprika 
1 teaspoon cinnamon 
1/2 teaspoon (or more, or less to taste) chilli flakes 
1 dessertspoon honey 
100ml lemon juice 

For the vegetables 
2 red onions, chopped roughly 
2 courgettes cut into chunks 
2 red peppers cut into chunks
3 cloves of garlic, chopped finely
2 tablespoons each of parsley and coriander 

For the pastillas 
2 tablespoons sultanas 
1 tablespoon toasted sliced almonds 
1 packet ready-prepared filo pastry (12 sheets or 6 bigger sheets that you've cut in half to make 12!)
Icing sugar and cinnamon, to dust

  • Chop up the chicken and marinade it in a bowl with all the other marinade ingredients.  Leave it for as long as you can! At least 30 minutes.  

  • Chop up the veggies and put them in a roasting dish.  Spray with a little olive oil, and sprinkle with a little water.  Season with freshly ground black pepper and roast in the oven at 180C for 30 minutes.  

  • Put your chicken and marinade into a hot pan and cook until the chicken is done.  Add the roasted vegetables, and the parsley and coriander.  

  • Lay out two sheets of filo pastry.  Add a couple of big spoonfuls of filling to the middle of the pastry.  Sprinkle a few sultanas and sliced almonds on the top. Take a pastry brush, and use a little water to brush all the way around the first layer. Fold the first layer over the filling.  Brush the outside of the second layer with a little water and fold this layer over too.  Brush the top of the pastilla with a little milk.  Lay on a baking sheet covered in greaseproof paper (that you've brushed with a little olive oil). 

  • Keep going until you've made six pastillas.

  • Bake in the oven at 190C for 15 minutes, or until they are nicely and lightly browned on the top.  

  • Plate up, and sprinkle with a little dusting of icing sugar and cinnamon for that sweet and savoury flavour.  

  • Serve with some green veggies - we went for peas and sliced green beans.  

Sunday, 19 January 2014

wear | your ankle booties

Ankle boots. They are just my favourite shoe in the whole wide world. Can be practical, chic and sexy all at the same time. I find that every shoe dilemma  is answered  a minute before you leave the house by shoving your feet into the pair of ankle boots on the top of the pile. Does this happen to anyone else? I also find, that every time, whatever pair that happen to be at the top of the pile WORK WITH MY OUTFIT.

It's crazy. So this is why I decided to do this style post on ankle boots! In short, both Emily and I are suffering from a bit of an obsession with them, and as ankle boots are mostly worn in the autumn/winter time, why not? Here I show you five different ankle boots of mine and Emily's collection (!) and how I style them. I hope you like it!

Enjoy today!!

- rosinaviolets    x

THE BOOTS

NEXT

H&M

RIVER ISLAND

ZARA

DEICHMANN
Casual - NEXT


Sophisticated - ZARA


Relaxed - DEICHMANN


Flirty - RIVER ISLAND


Cool - H&M


make | MOROCCO | pea & winter greens tagine

Another tagine this week, although mellower, less bold flavours than before.  This has the comfort-factor too - when it's cold and you fancy something hearty for dinner, warm this up and you'll feel good in no time.  It's also very healthy, packed with veggies and super duper easy to cook.  We made this in between studying, all it takes is bung some things into a pot, go upstairs and hit the books, come back and bung some more things in, review what you were reading and hey presto - dinner's done.  It tastes super with some warm crusty bread (or toast if you're really skint!)

We're using spinach in this recipe, but you could use any finely shredded winter greens - kale, collards, beetroot greens, chard - anything would be good, and equally up your phytonutrient content!

Chickpeas are delicious - nutty, slightly buttery and they give you the carb hit we all want in winter without eating a plateful of pasta.  But they're also a great source of fibre, and protein if you're a vegetarian.  A little known fact about chickpeas - one cup will give you nearly 85% of your RDA of manganese, great for antioxidant defence and energy boosting.  They also have a high iron content, and, good news for us girlies, they have a phytochemical called 'saponin' which could be a factor in controlling the risk of breast cancer and osteoporosis.  Crack open those cans of chickpeas!!

Enjoy today!!

- rosinaviolets    x


Pea & Winter Greens Tagine 
400g drained weight chickpeas (2 tins) 
100g dry yellow split peas, soaked for 45 mins in water
75g sultanas, soaked for 20 mins in water 
1 large onion 
3 minced garlic cloves 
1 teaspoon ground cinnamon 
1 teaspoon cumin seeds 
1 teaspoon ground ginger 
1 teaspoon ground turmeric 
1/2 teaspoon (or more, or less, to taste) chilli flakes 
600ml vegetable stock 
350g frozen peas
half a bag of spinach (or other winter greens of your choice!) 
3 tomatoes, chunked 
1/2 bunch each of coriander & mint, chopped 

  • Soak the yellow split peas in water for around 45 minutes.  Soak the raisins for 20 minutes.  

  • Add a little stock to a large pan and get it hot.  Add the onion and garlic and steam fry in the stock for two minutes.  Then add the spices.  Give it a whiff - it'll be smelling brilliant! 

  • Add the rest of the stock, and bring it to the boil before adding the drained split peas.  Lower the heat until the mixture is simmering on the stove.  Leave it for about 45 minutes.  

  • Add the raisins to the pot, then the chickpeas and winter greens.  Leave for a further 10 minutes.  

  • Now add the frozen peas and tomatoes.  Bubble away for another 10 minutes (best not to leave it now as you don't want it to get too dry - add a little water if it starts to stick).  

  • Take the tagine off the heat and season to taste.  Sprinkle over the chopped herbs.  Serve in a bowl with some warm crusty bread.