
The main difficulty when making Roman blinds is the measuring. You've got to be spot on, and you've got to get your calculator out. Once you've done your calculations, making up the blind doesn't need anything other than for you to stitch in a straight line.
The finished Roman blind can be up to 120cm wide, with three cords. If you want your blind wider, use more cords, and make up the blind in the same way.
Any fabric will do to make your blind, although do think about the thickness to decide on the level of blackout you want.
What you'll need
Blind fabric in the amount needed
Lining fabric in the amount needed
Matching thread
2cm wide Velcro tape, as long as the width of the finished blind
12mm plastic blind-rings, 3 per dowel
Metal cleat, to wrap cords around when the blind is up
2.5cm D-lath, 1cm shorter than the width of the finished blind
9mm wooden dowels, each the same length as the D-lath, and one per dowel channel
2.5cm x 2.5cm support batten, 5mm shorter than the width of the finished blind
Staple gun
Metal screw eyes
3 nylon blind cords, each twice the length of the finished blind, plus the width of the blind
Blind pull
How to do it
The first thing you've got to do gets all the measuring and maths out of the way.
- Decide how wide you want your finished blind to be
- Decide if you want the blind to fit inside the window recess, or not, and measure the width.
- Write this down: this is the finished blind width.
- Decide how long you want your finished blind to be
- Decide where you are going to put the support batten at the top of the window. Measure from the top of the batten to where the bottom of the blind should reach.
- Write this down: this is the finished blind length.
- Make a graph paper scale drawing of the finished blind.
- To work out how many dowel channels you will need, create a to-scale drawing on a piece of graph paper of your blind.
- You need one dowel channel approximately every 30cm, starting from the top of the blind. Below the last dowel channel, you need to leave 15cm to the bottom edge of the blind. The distance between the channels can be a bit more or less, but they have to be equal, and the distance below the last channel and the bottom of the blind should be half the distance between the dowels. Got that?
- Cut out your fabric
- From the blind fabric
- Cut a panel of fabric that is as wide as the finished blind width plus 8cm extra, and as long as the desired finished blind length plus 13cm extra.
- From the lining fabric
- Cut a panel of fabric that is 1cm narrower than the blind fabric panel.
- The length of the lining panel is the finished blind length plus 4cm extra for each horizontal dowel channel. (Once the channels are folded and stitched, the lining will be the exact length of the finished blind.)
- To make your lining
- Press 4cm to the wrong side along each side edge of the lining panel and tack in place.
- Mark the dowel positions across the right side of the lining. This is where accuracy is key - take your time! Follow the scale drawing, and use a mechanical pencil and metre-ruler. Draw the first line the distance from the top of the fabric as the first marked dowel position. Then, draw another line 4cm below this - this is the first channel.
- From the second line, measure the distance between the dowel channels, and then draw your next line. Draw another line 4cm below this - this is the second channel.
- Draw the other channels in the same way, with two lines 4cm apart.
- To make the dowel channels
- With the wrong sides together, fold the lining along the centre of the first dowel channel, so the two marked lines line up.
- Press along this, and then pin in place. Stitch along the marked line.
- Stitch the remaining channels in the same way.
- To prepare your blind fabric
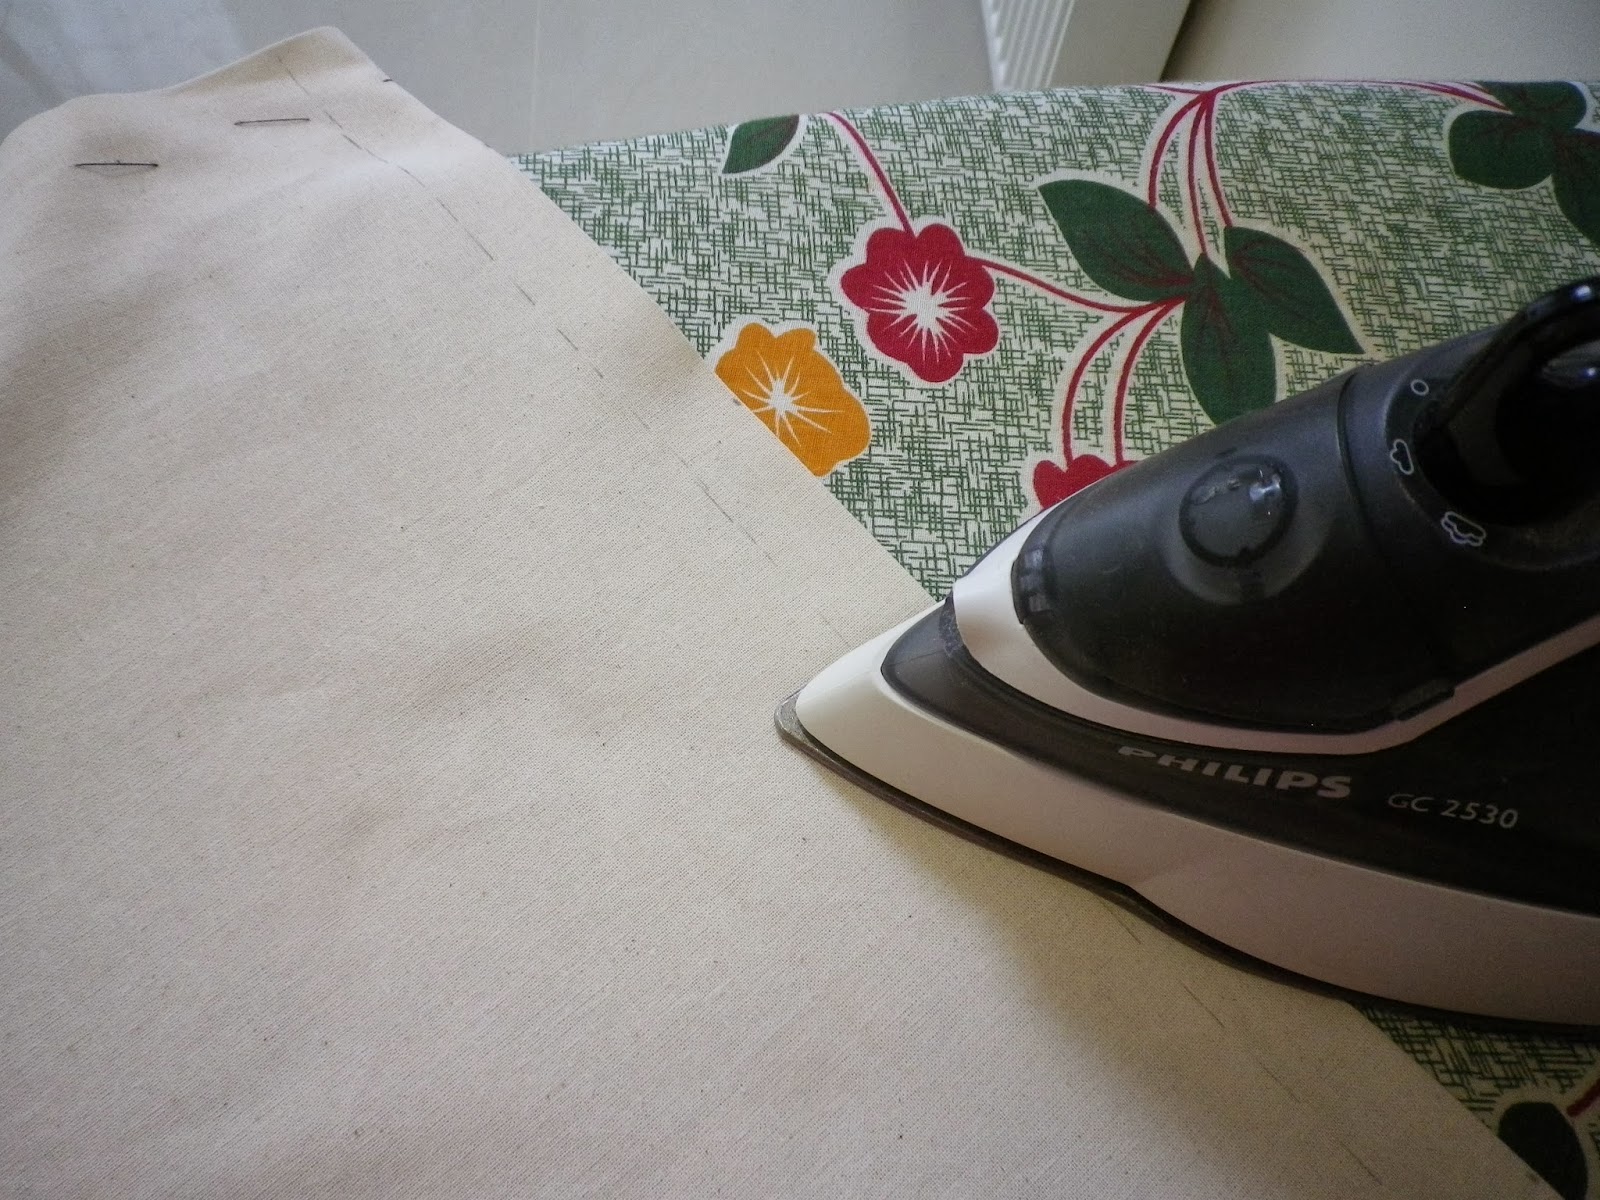
- Press 4cm to the wrong side along each side edge of the blind fabric. Pin in place.
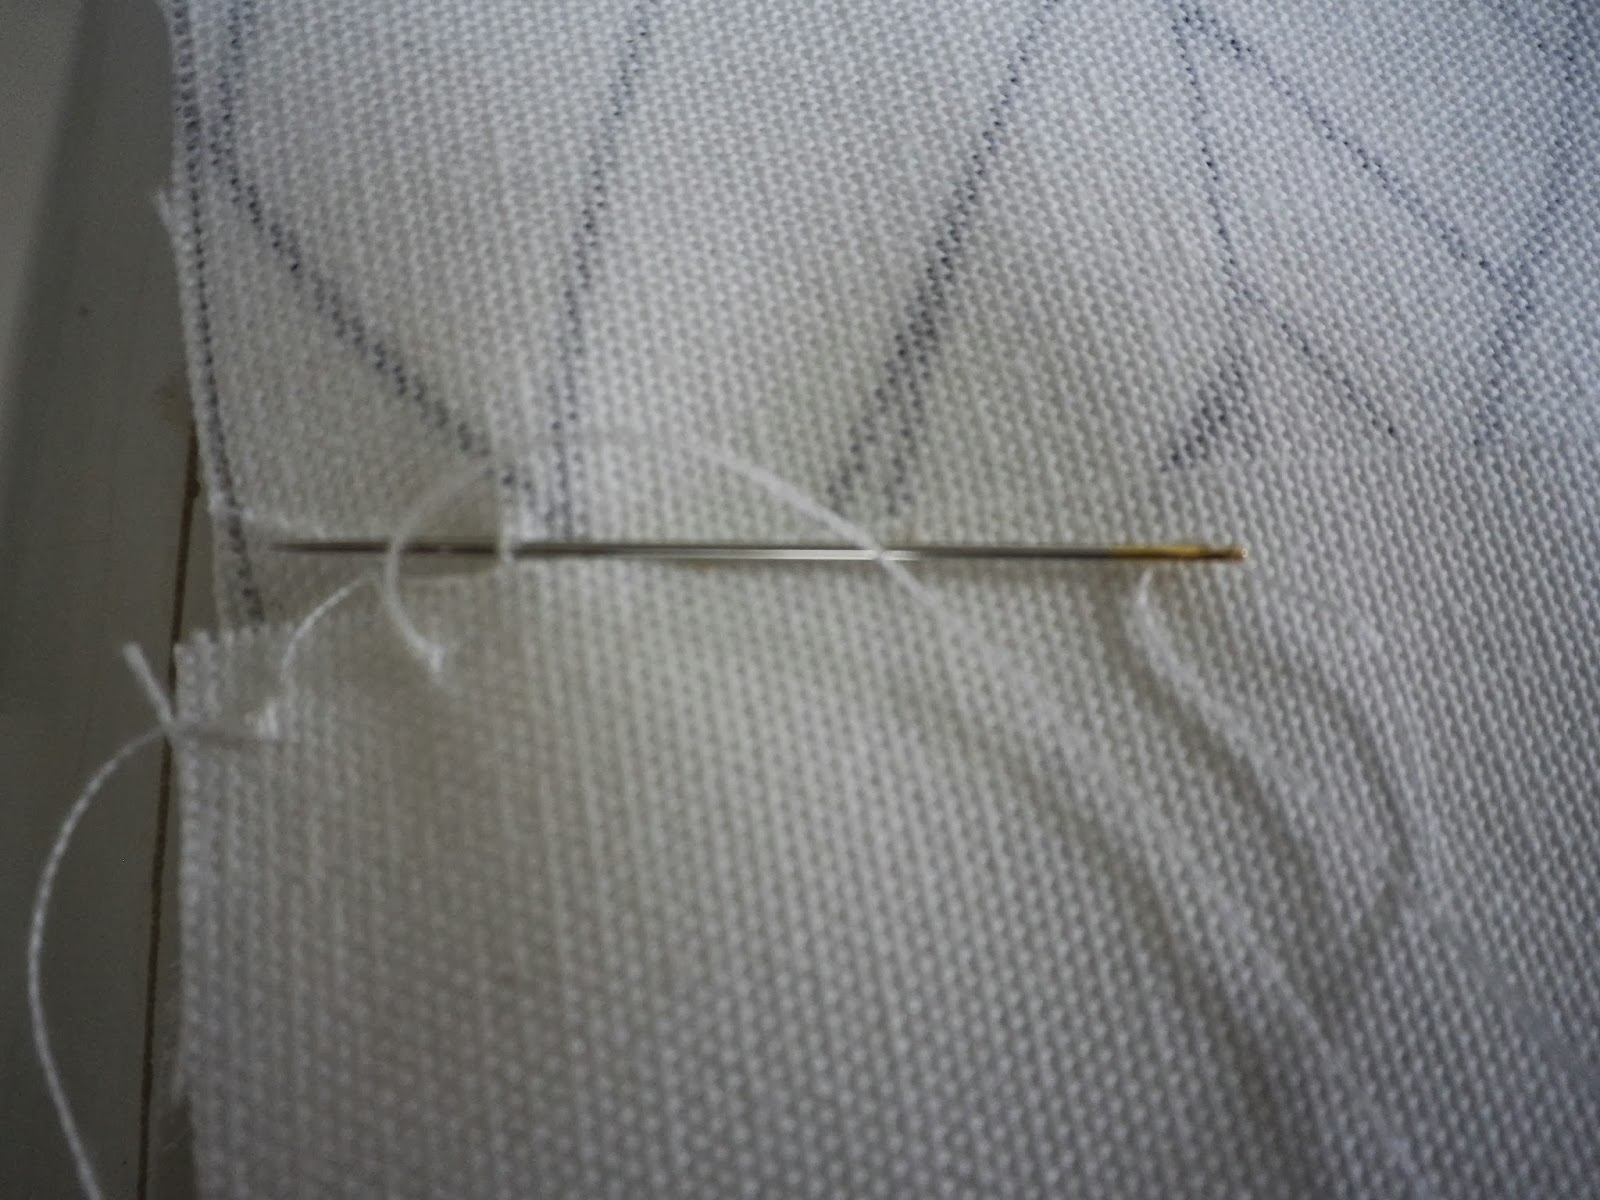
- Sew these hems in place along the raw edge, using a catch stitch that will be almost invisible on the right side of the blind. This is what'll take some time, because you've got to do it by hand.
- At the bottom of the blind fabric, press 1cm, then 4cm to the wrong side.
- At the top of the blind fabric, press 4cm to the wrong side, twice.
- The pressed folds show the positions for the top and bottom hems, but don't pin or tack them yet. Unfold the second fold of the double hem at the top of the blind, so only 4cm is folded to the wrong side.
- Pin the soft side of the velcro to the right side of the blind fabric, just above the second pressed foldline so it's sitting on the double layer of fabric. Stitch it in place all around the edges.
- To attach the lining and blind panel
- With the top and bottom blind hems unfolded, and with the wrong sides together, lay the lining on top of the blind fabric. Position the lining so that it is aligned with the hemline fold at the top and the hemline fold at the bottom, then centre it widthways. Pin and slipstitch the sides of the lining to the blind fabric.
- Fold the pressed hems at the top and bottom of the blind over the lining and pin in place. Slipstitch them in place. At the top of the blind, slipstitch the sides of the hem together, but at the bottom, leave the sides open so you can put in the D-lath.
- To sew on the rings
- Refer to your scale drawing, and use your mechanical pencil to mark the three ring positions per dowel channel. The cords will thread through here. Mark one ring position in the exact centre of the channel and one 4.5cm from each end.
- Hand sew a ring at each of these positions, catching in the pressed channel fold.
- Underneath the channels, beneath each position of the ring, do a catch stitch, very tiny, through all the layers of the fabric, so that when you pull up the blind, all the layers come up smoothly together.
- To insert the dowels and the D-lath
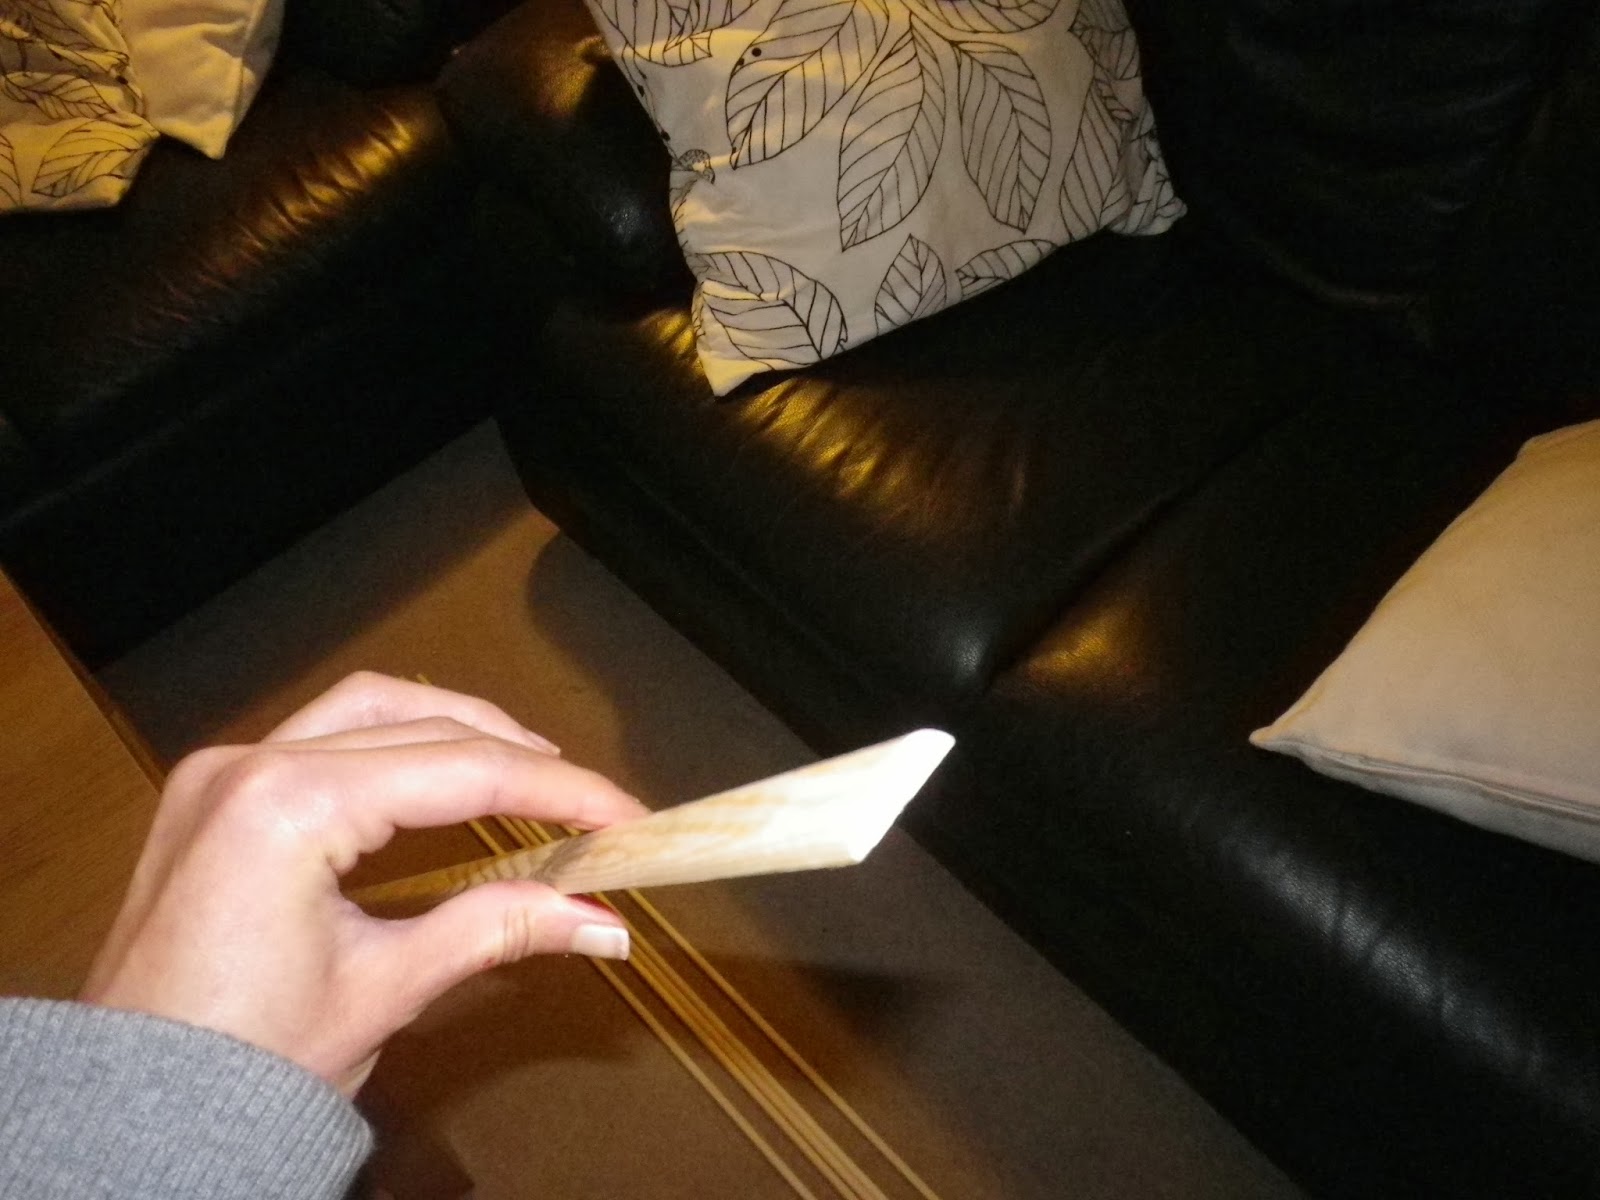
- Slip one dowel into each channel. Slipstitch the ends to close.
- Slip the D-lath into the hem channel at the bottom and slipstitch the ends to close.
- To prepare the batten support
- Staple the hook section of the velcro to the front of the batten. Screw three hook eyes to the bottom of the batten, one 5cm from each end and one in the centre. Add an extra one 2.5cm from the pull-cord end.
- Fix a cleat to the architrave on the same side.
- Fix the batten to the window.
- To thread on the blind cords
- Knot one end of each cord onto one of the three rings at the bottom of the blind, then thread the cord up through the other rings to the top.
- Stick the blind to the batten, and then thread them through the hook eyes and out at the side you're going to pull the blind up from.
- With the blind down, align the cords and attach the blind pull to the ends, trimming the cords to the same length.
- Pull up the blind with the joined cord, and secure on the cleat.
- Feel amazingly satisfied that you've made your very own Roman blind!


The stunningly beautiful prints, colours and the fabric material of one such sheer roller blinds that I bought online from a designer home furnishing store in London was of premium quality and that made the difference to the overall aesthetics and ergonomics of my kitchen area which now represents a much more refined, soothing and refreshing look through this beautiful custom Roman blind.
ReplyDeleteThanks for another excellent post. Where else could anybody get that type of information in such an ideal way of writing? I’ve a presentation next week, and I am on the look for such information. get redirected here
ReplyDeleteSilk curtains UK add an air of elegance and sophistication to any home. Made from luxurious silk fabric, they feature a soft sheen and delicate texture, making them ideal for formal spaces such as dining rooms and living areas. These curtains create a refined look and gently filter light to enhance the room's ambiance. Suitable for both classic and contemporary interiors, silk curtains offer a timeless appeal that elevates any space, making them a popular choice for homeowners looking for high-end window treatments.
ReplyDelete